Friday 13 December 2013

Christmas Ornaments

CAS(E) this Sketch:   #57


I wrapped a piece of red gingham ribbon around my card. Using my bauble stamp set I stamped and punched out three different coloured baubles.

I added a Happy Christmas sentiment to the bottom of my card.

My baubles were mounted on 3D pads, and I've added some rhinestones for a bit of Christmas bling!


Products used:
Christmas Collectibles Stamp and Punch Set - Stampin' Up!
Cherry Cobbler, Crumb Cake and Old Olive Ink Pads - Stampin' Up!
Gingham Ribbon, Sentiment, Card Stock and Rhinestones from stash

You may also like:
    

Thursday 5 December 2013

Christmas Baubles

CAS(E) this Sketch:   #56


I stamped and punched out three baubles. and then hung them from my branch using bakers twine.

The sentiment has been stamped and double mounted.

 I've added some rhinestones for a bit of Christmas bling!

Products used:
Christmas Collectibles Stamp and Punch set - Stampin' Up!
Woodland Branch Die - Memory Box
Teeny Tiny Sentiments Stamp set - Stampin' Up!
Word Window Punch - Stampin' Up!
Modern Label Punch - Stampin' Up!
Cherry Cobbler Bakers Twine - Stampin' Up!
Cherry Cobbler, Old Olive and Crumb Cake Ink Pads - Stampin' Up!
Card Stock and Rhinestones from stash

You may also like:
    

Wednesday 4 December 2013

Anglican Guild Christmas Craft Night

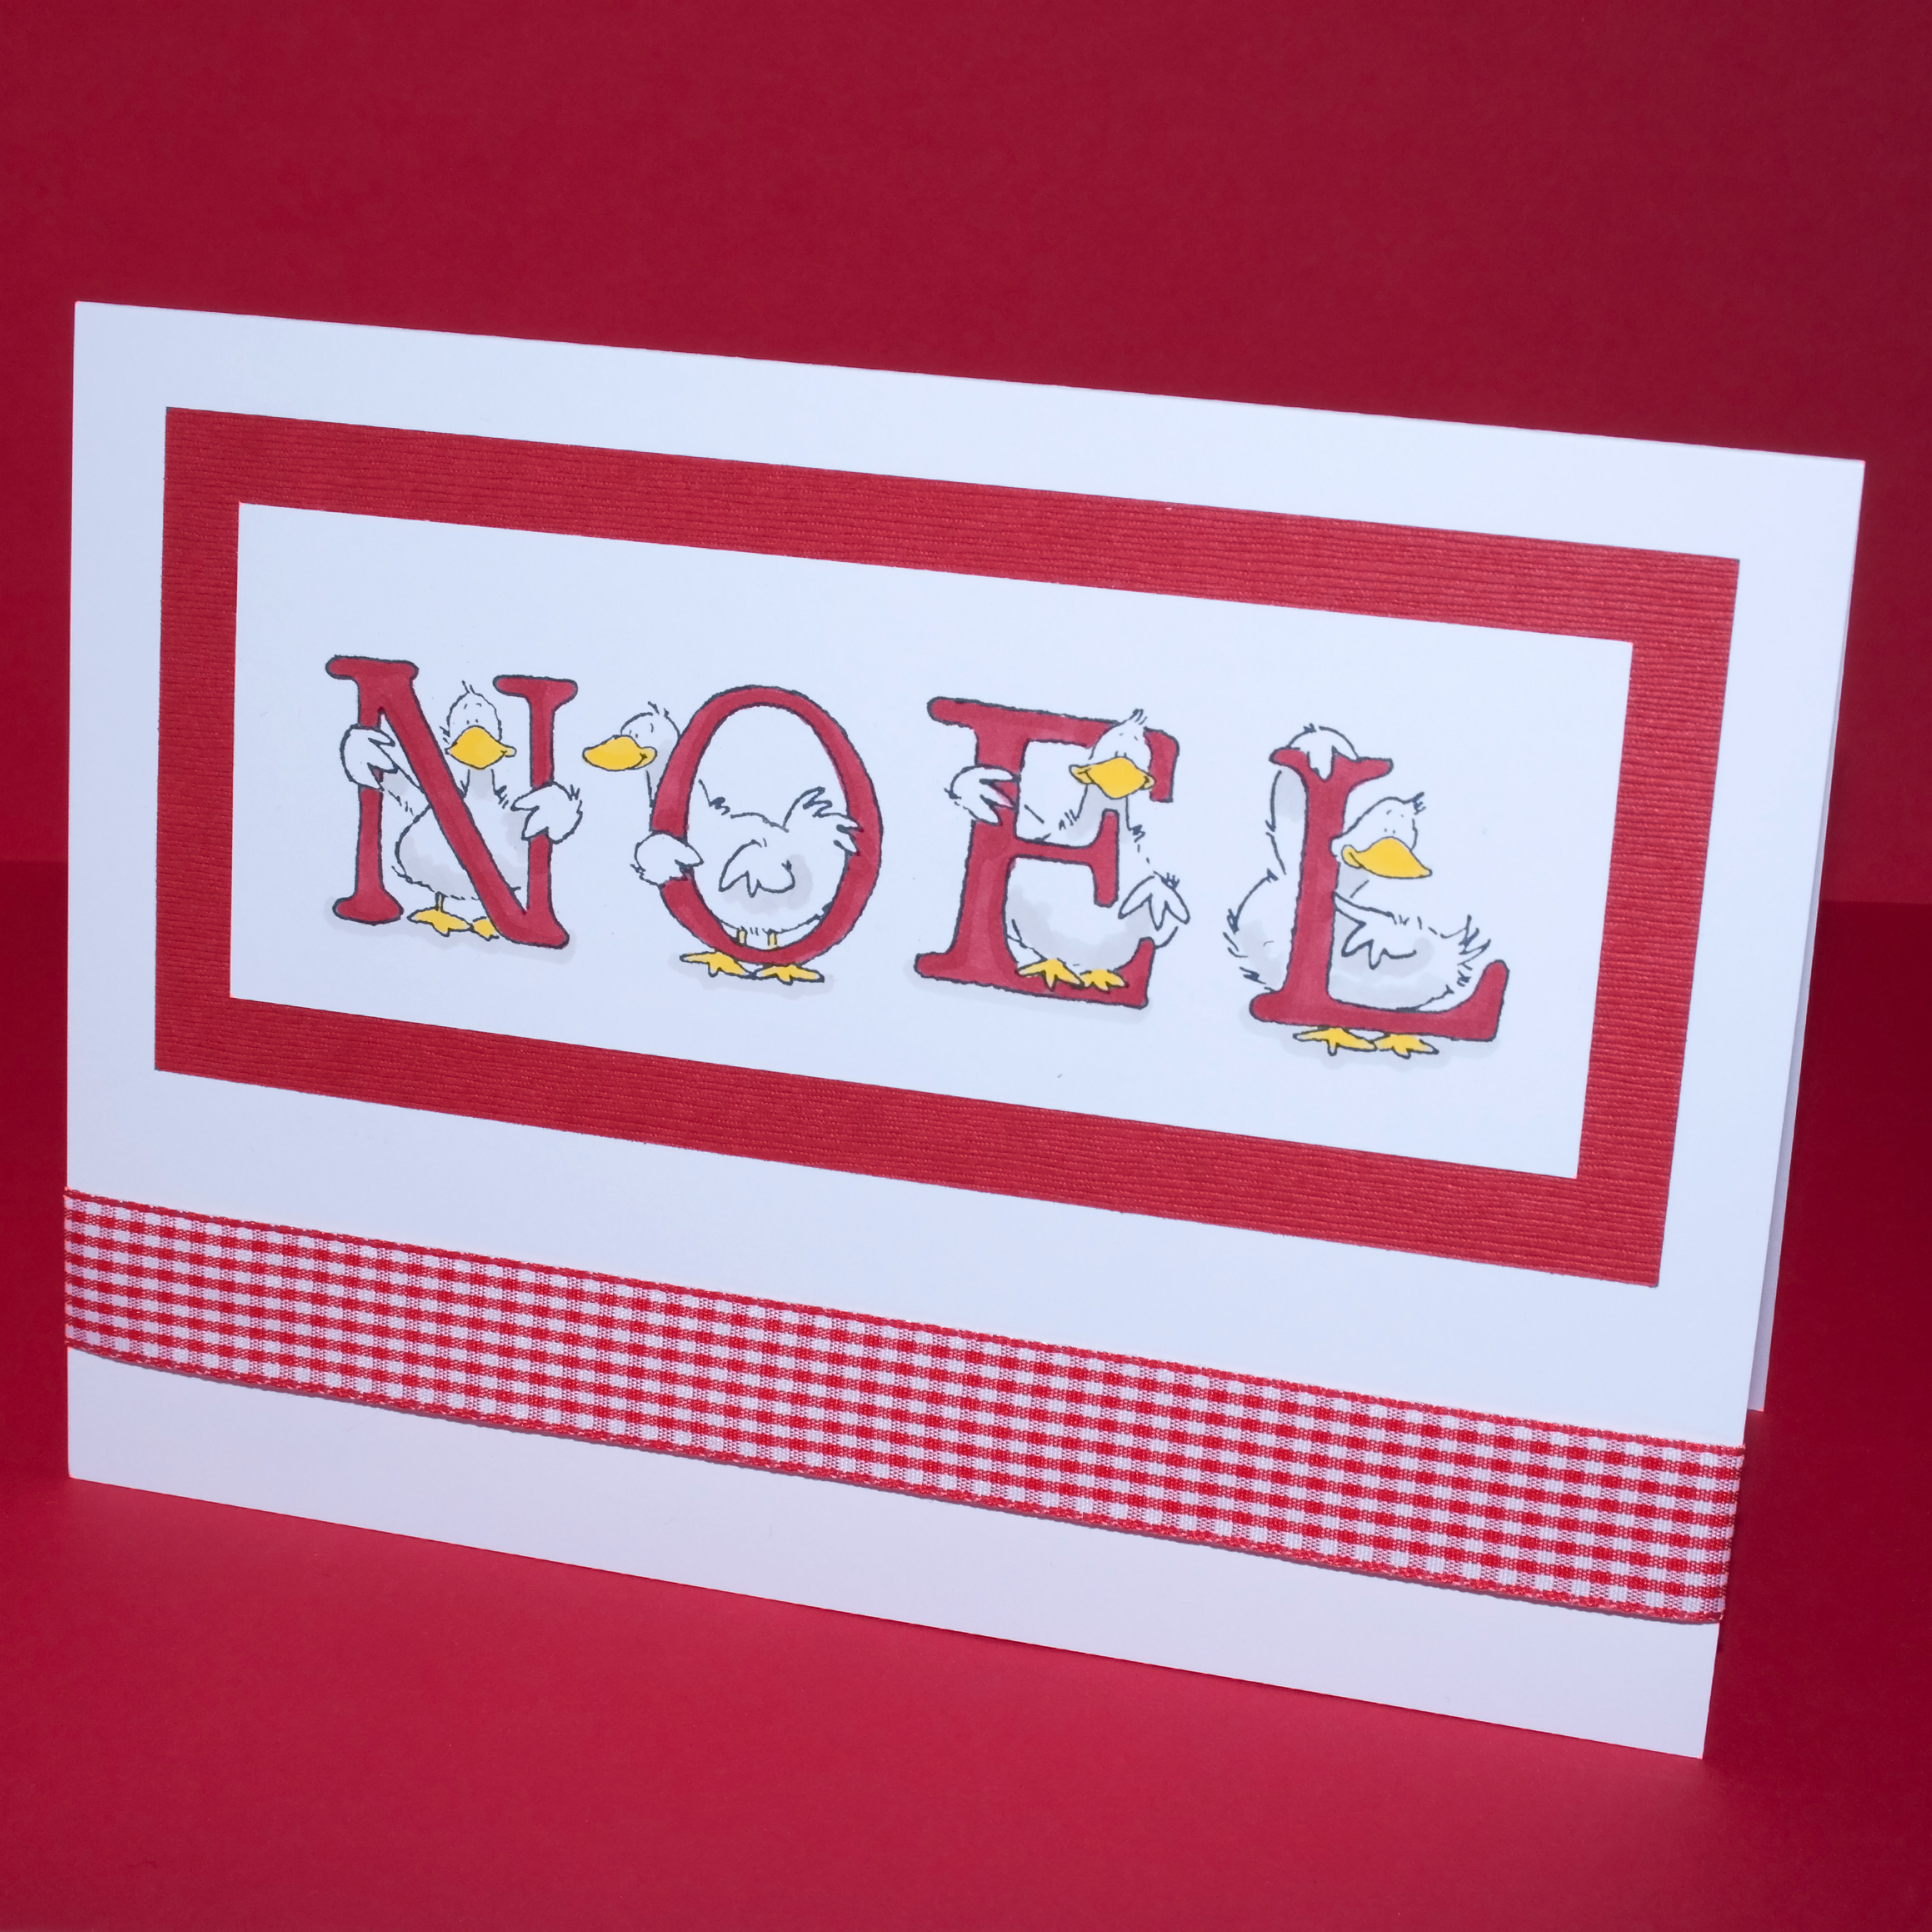
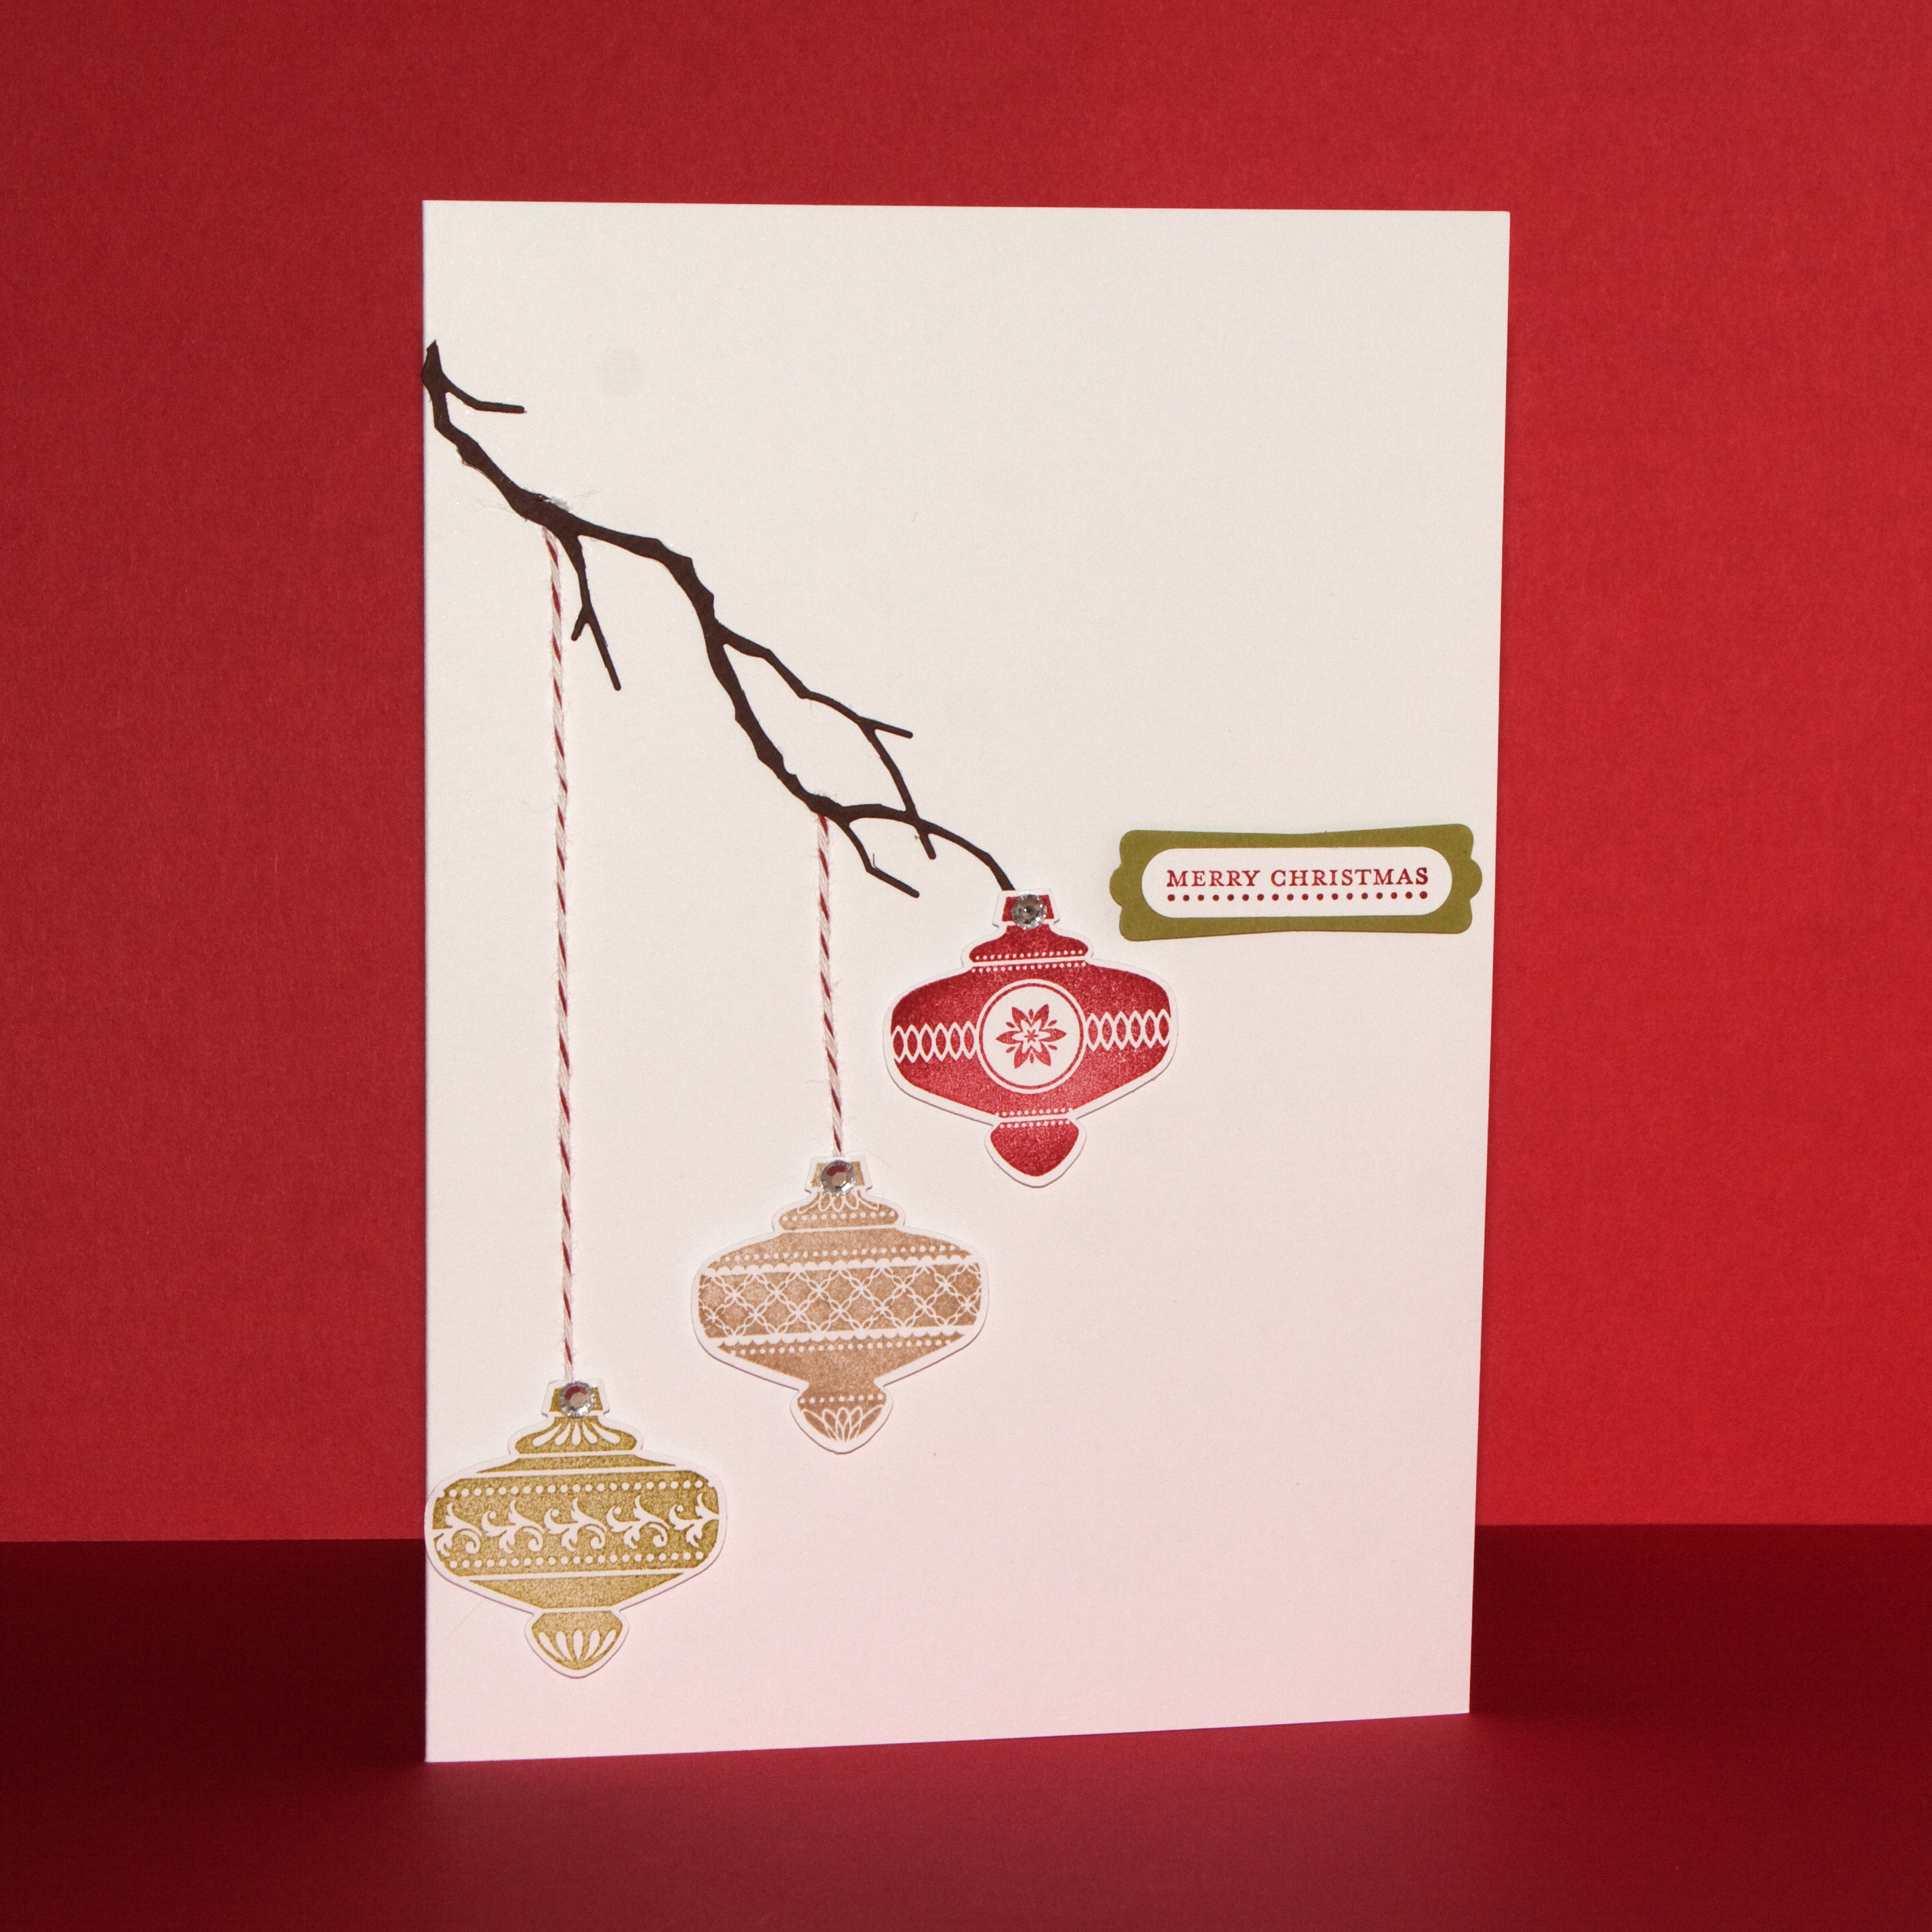
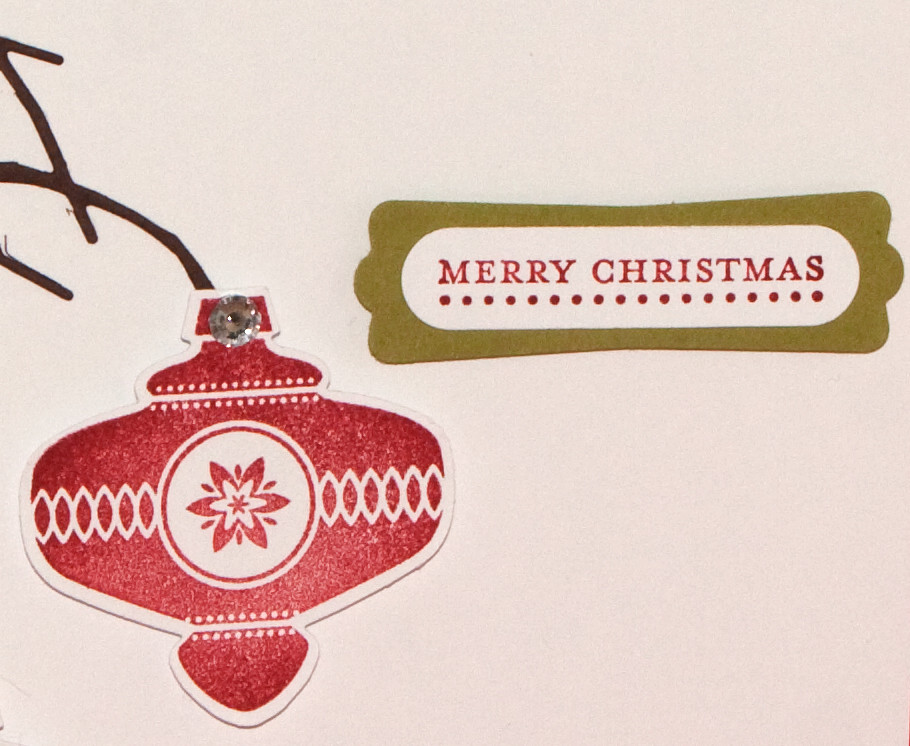
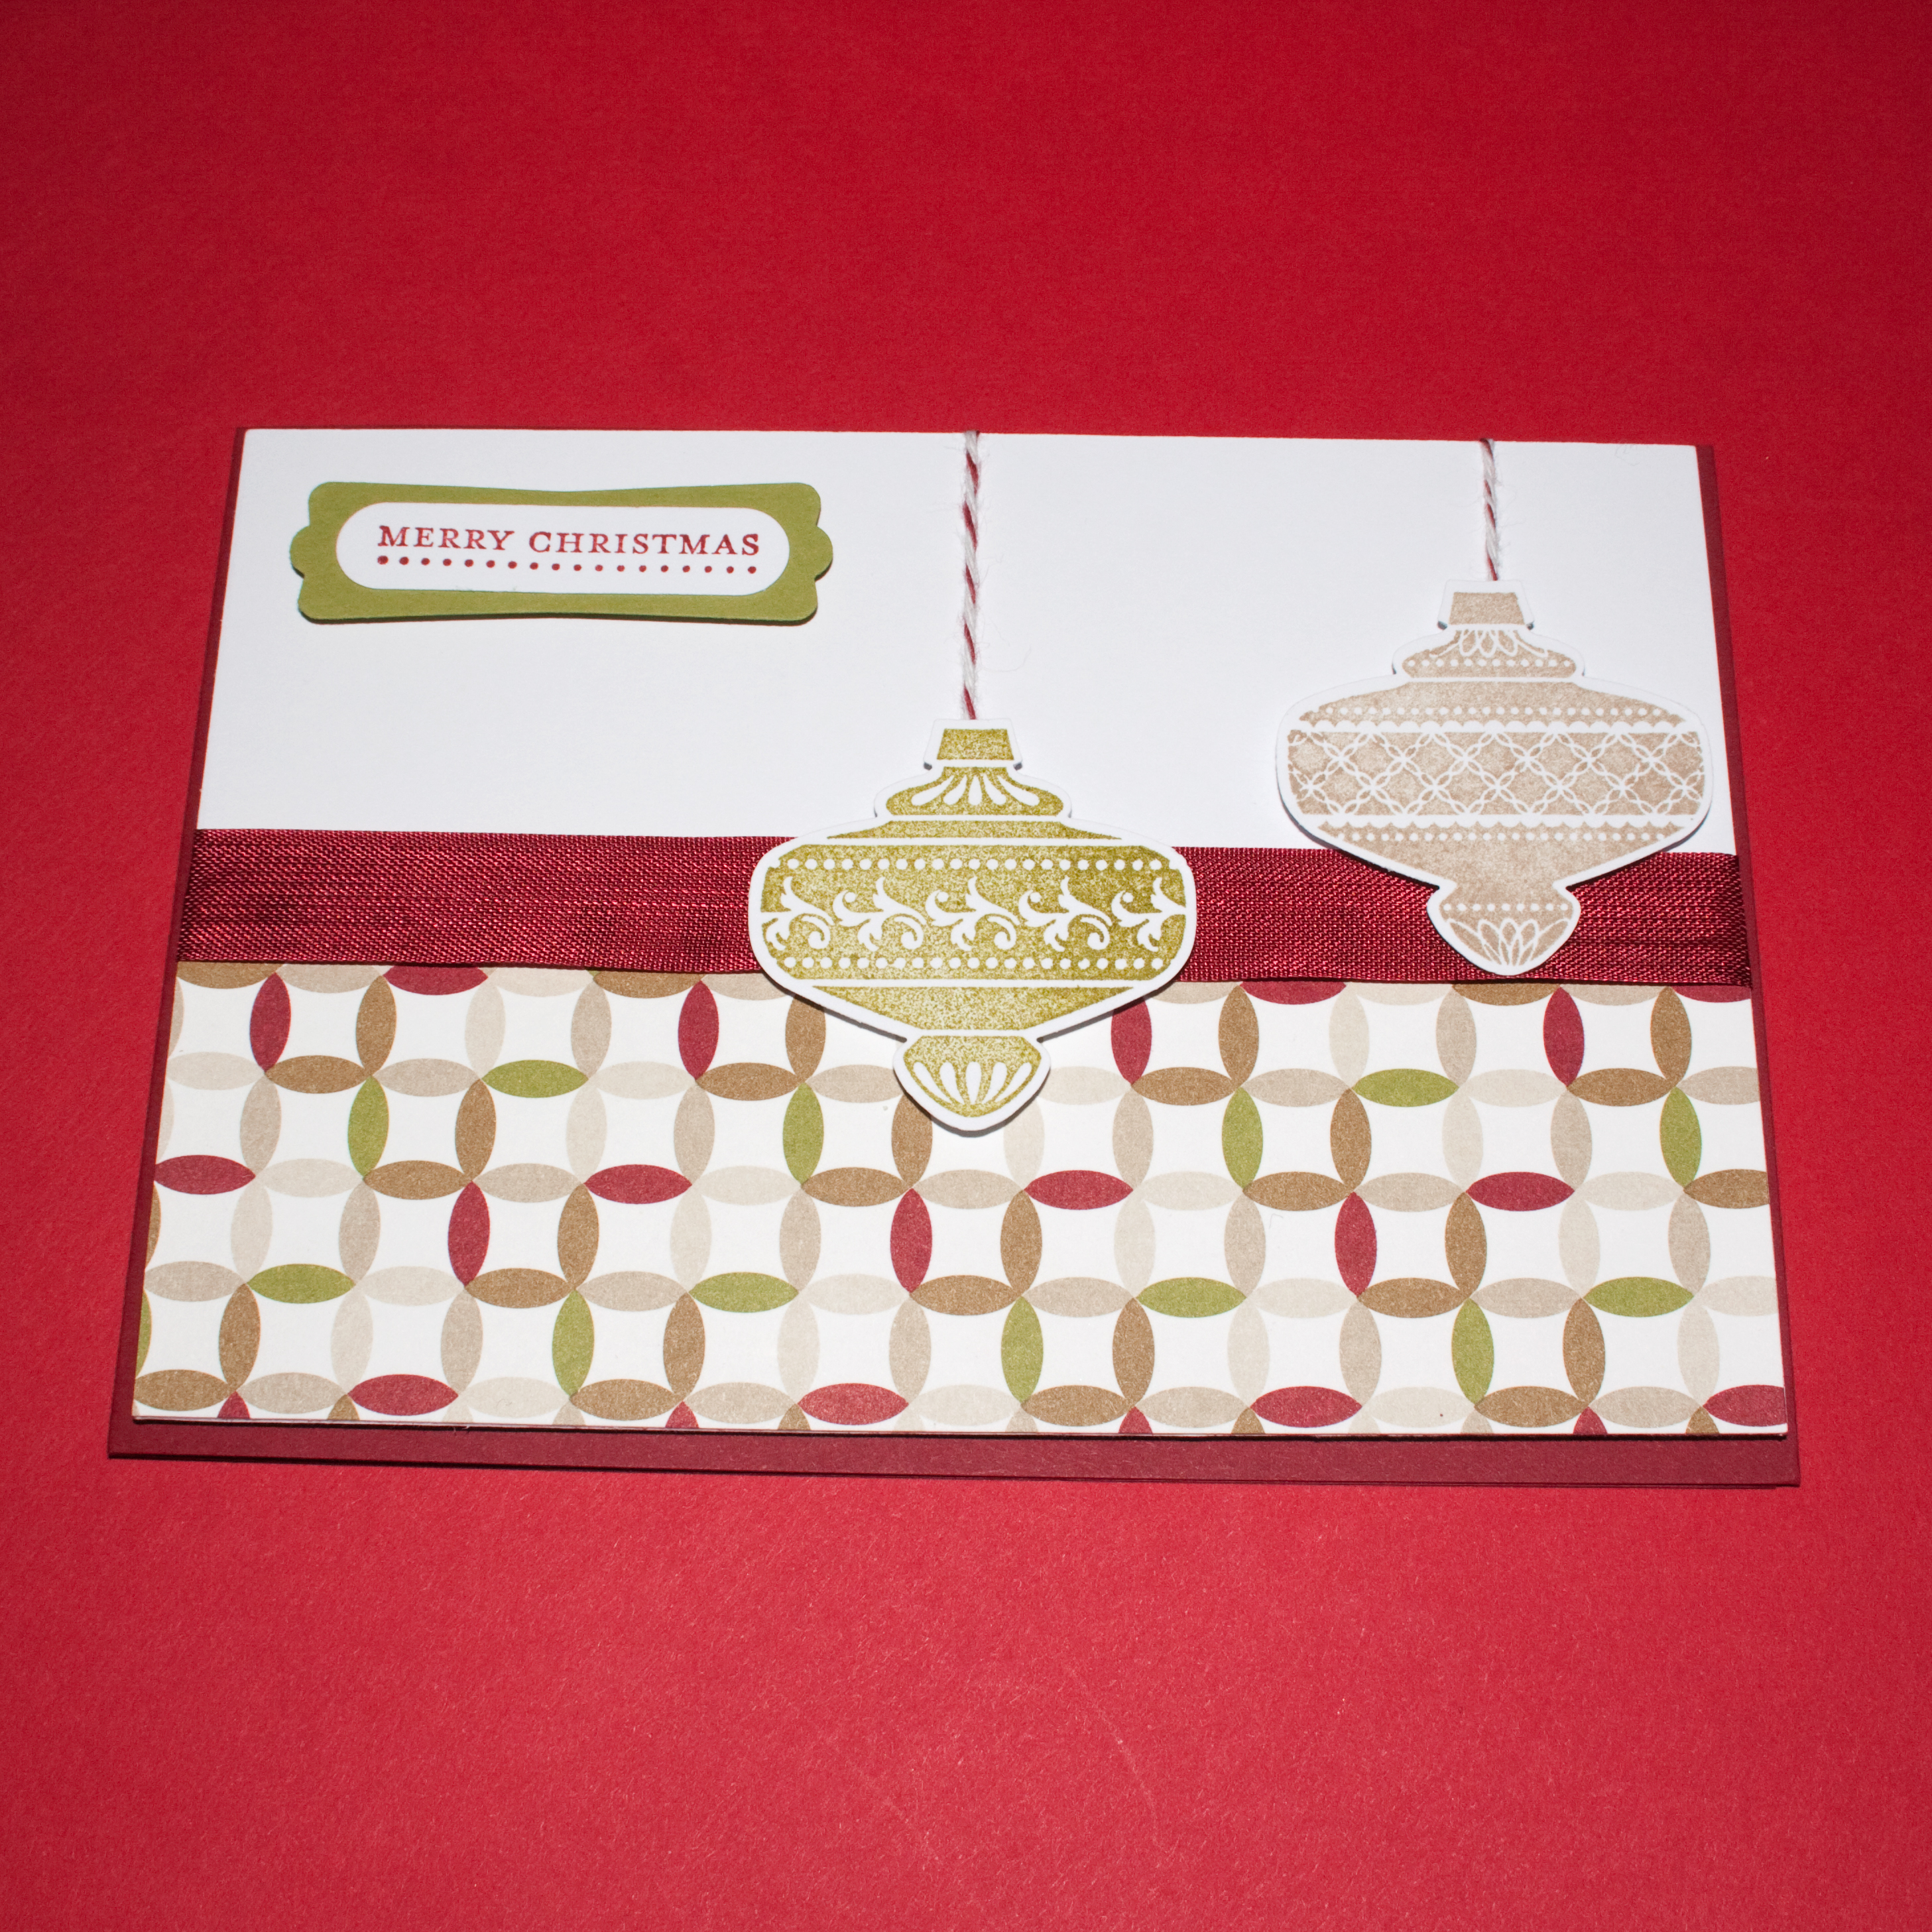
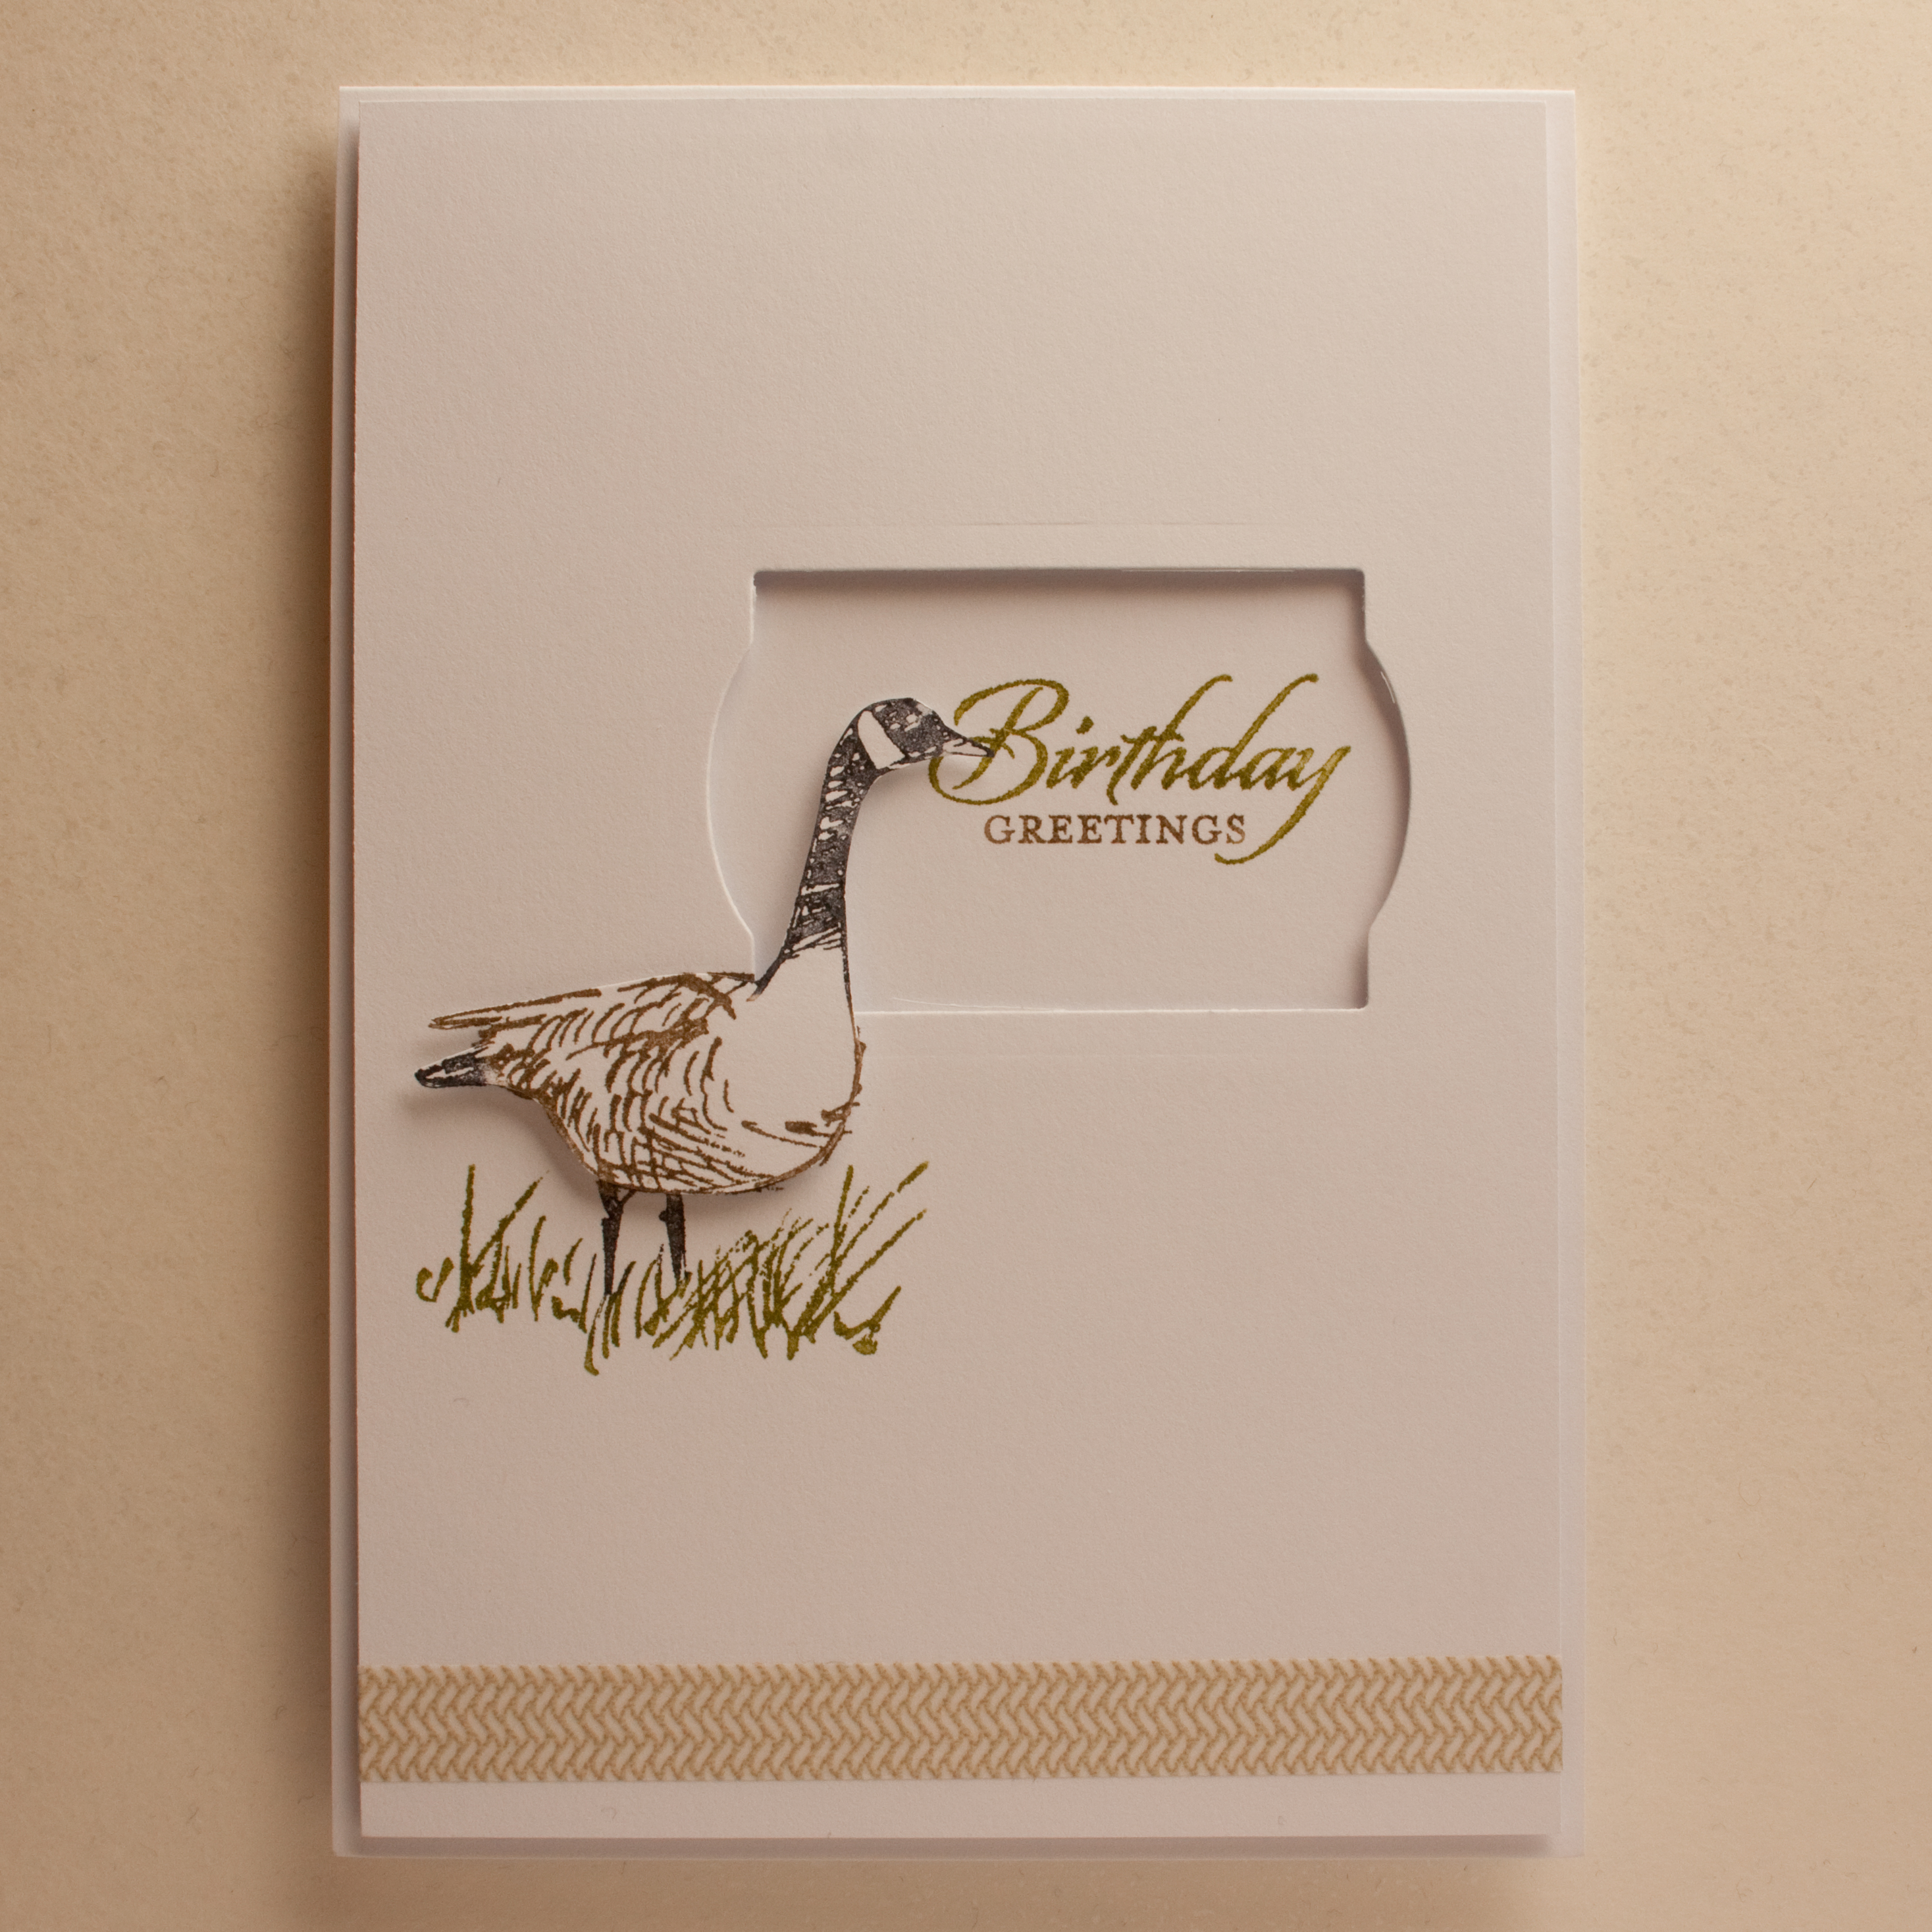
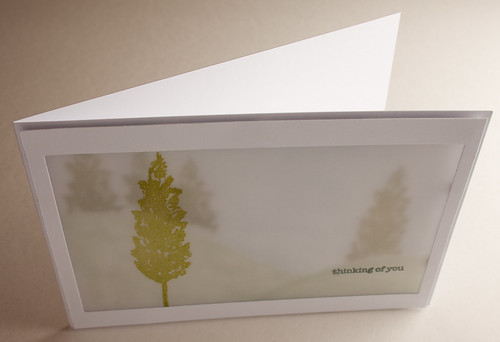
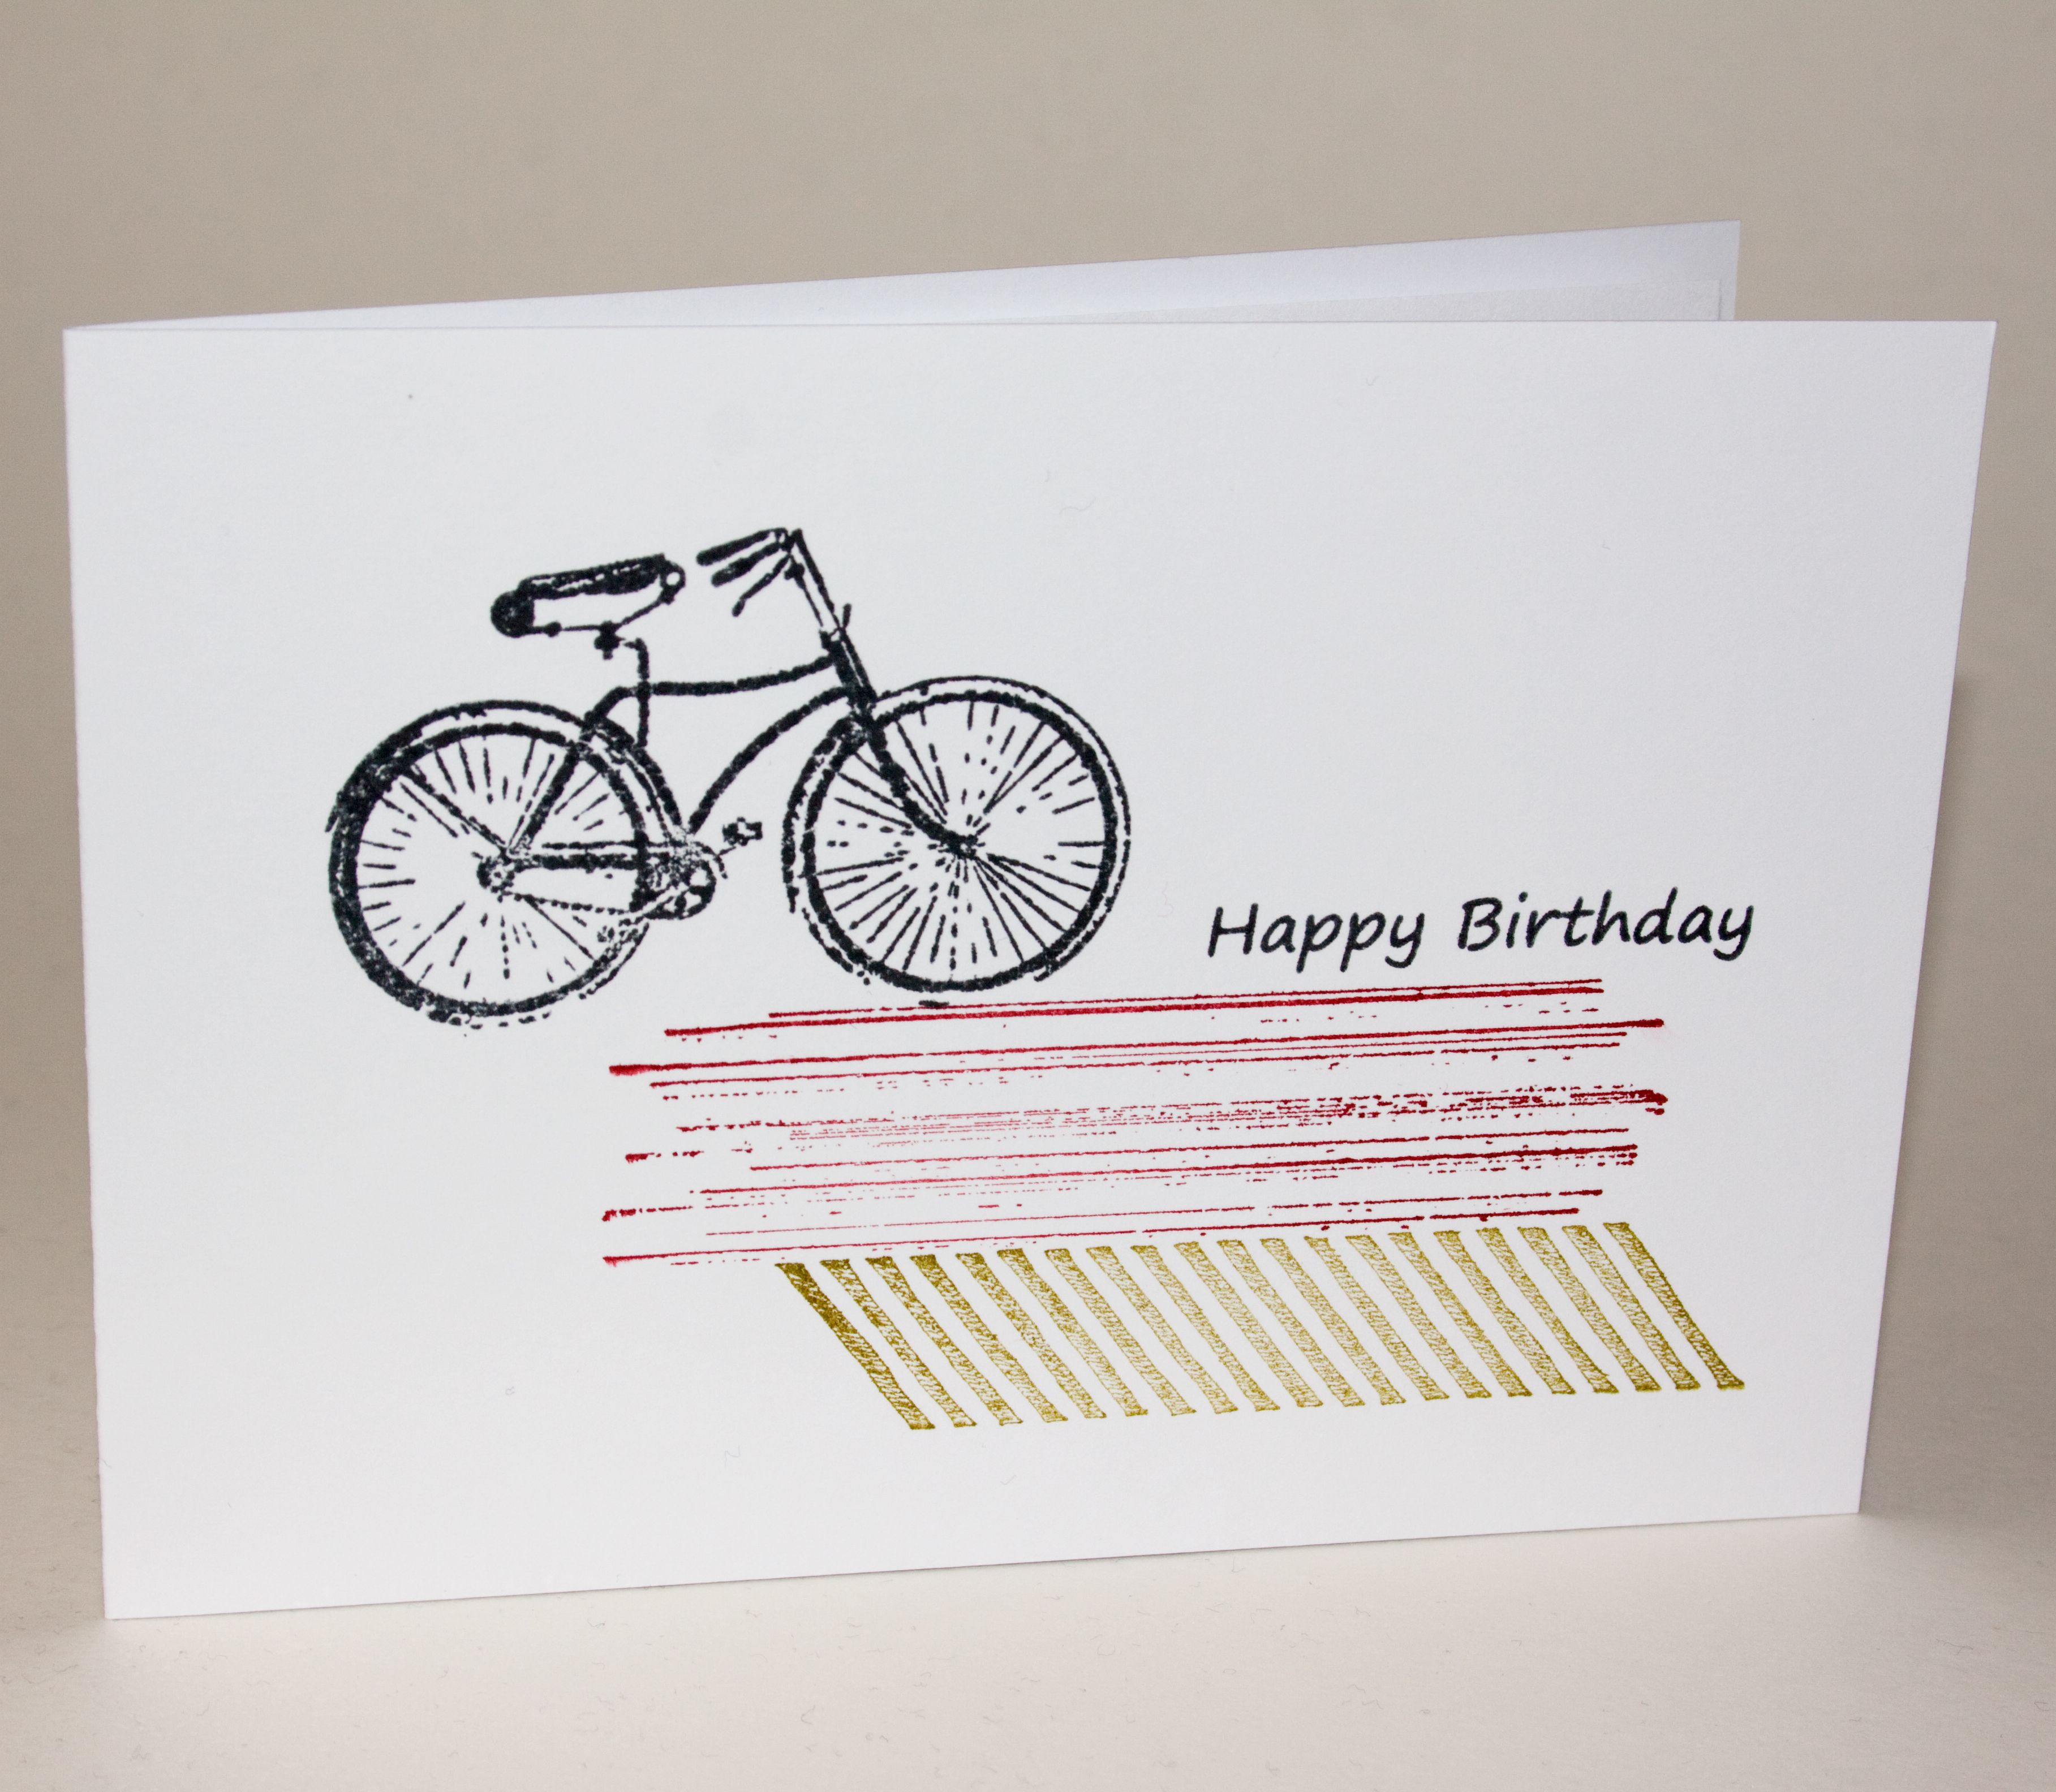
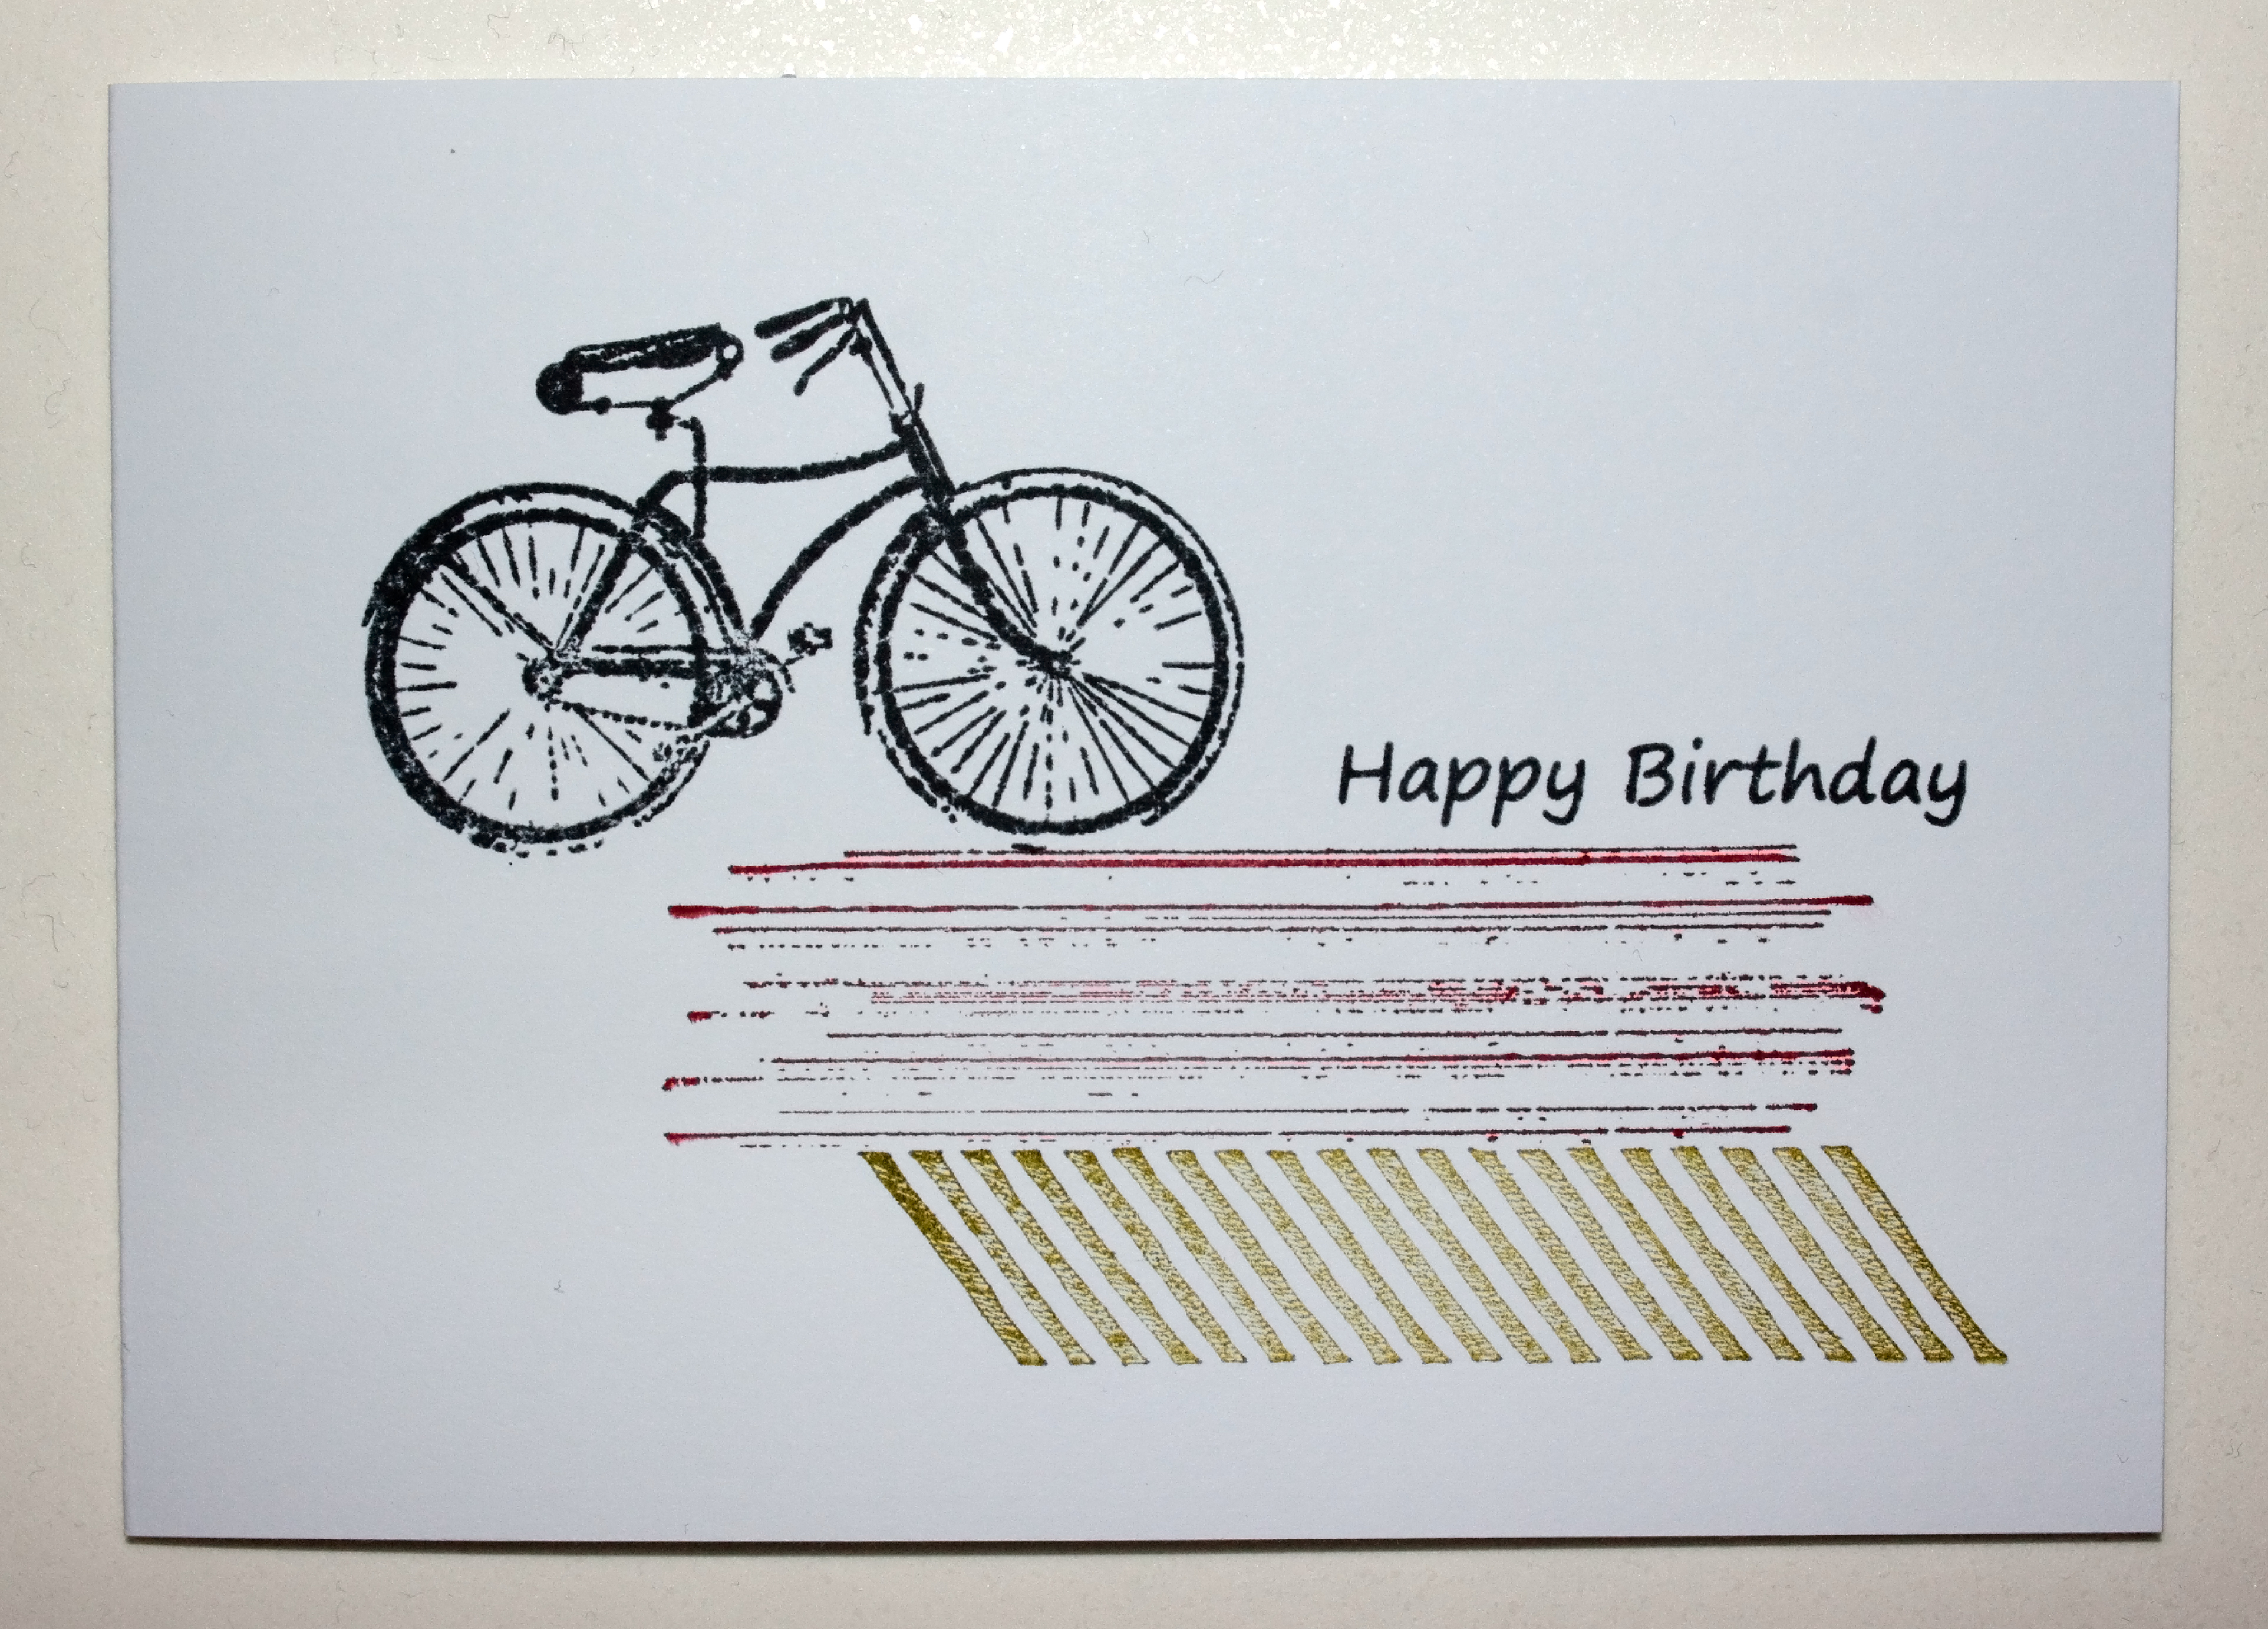
I had been asked by the local Anglican Guild to host a Craft night with one of my close friends. She was decorating cakes, and I was helping the ladies to make the above card. This is the first time that I have done a demonstration, and it took a lot of preparation, especially as my ladies ranged in age from late sixties to one lovely lady who is 92!!

I decided to approach the task by making a card that could have everything pre-stamped and cut out, so that all they had to do was assemble it. Although I have to say this was easier said than done.

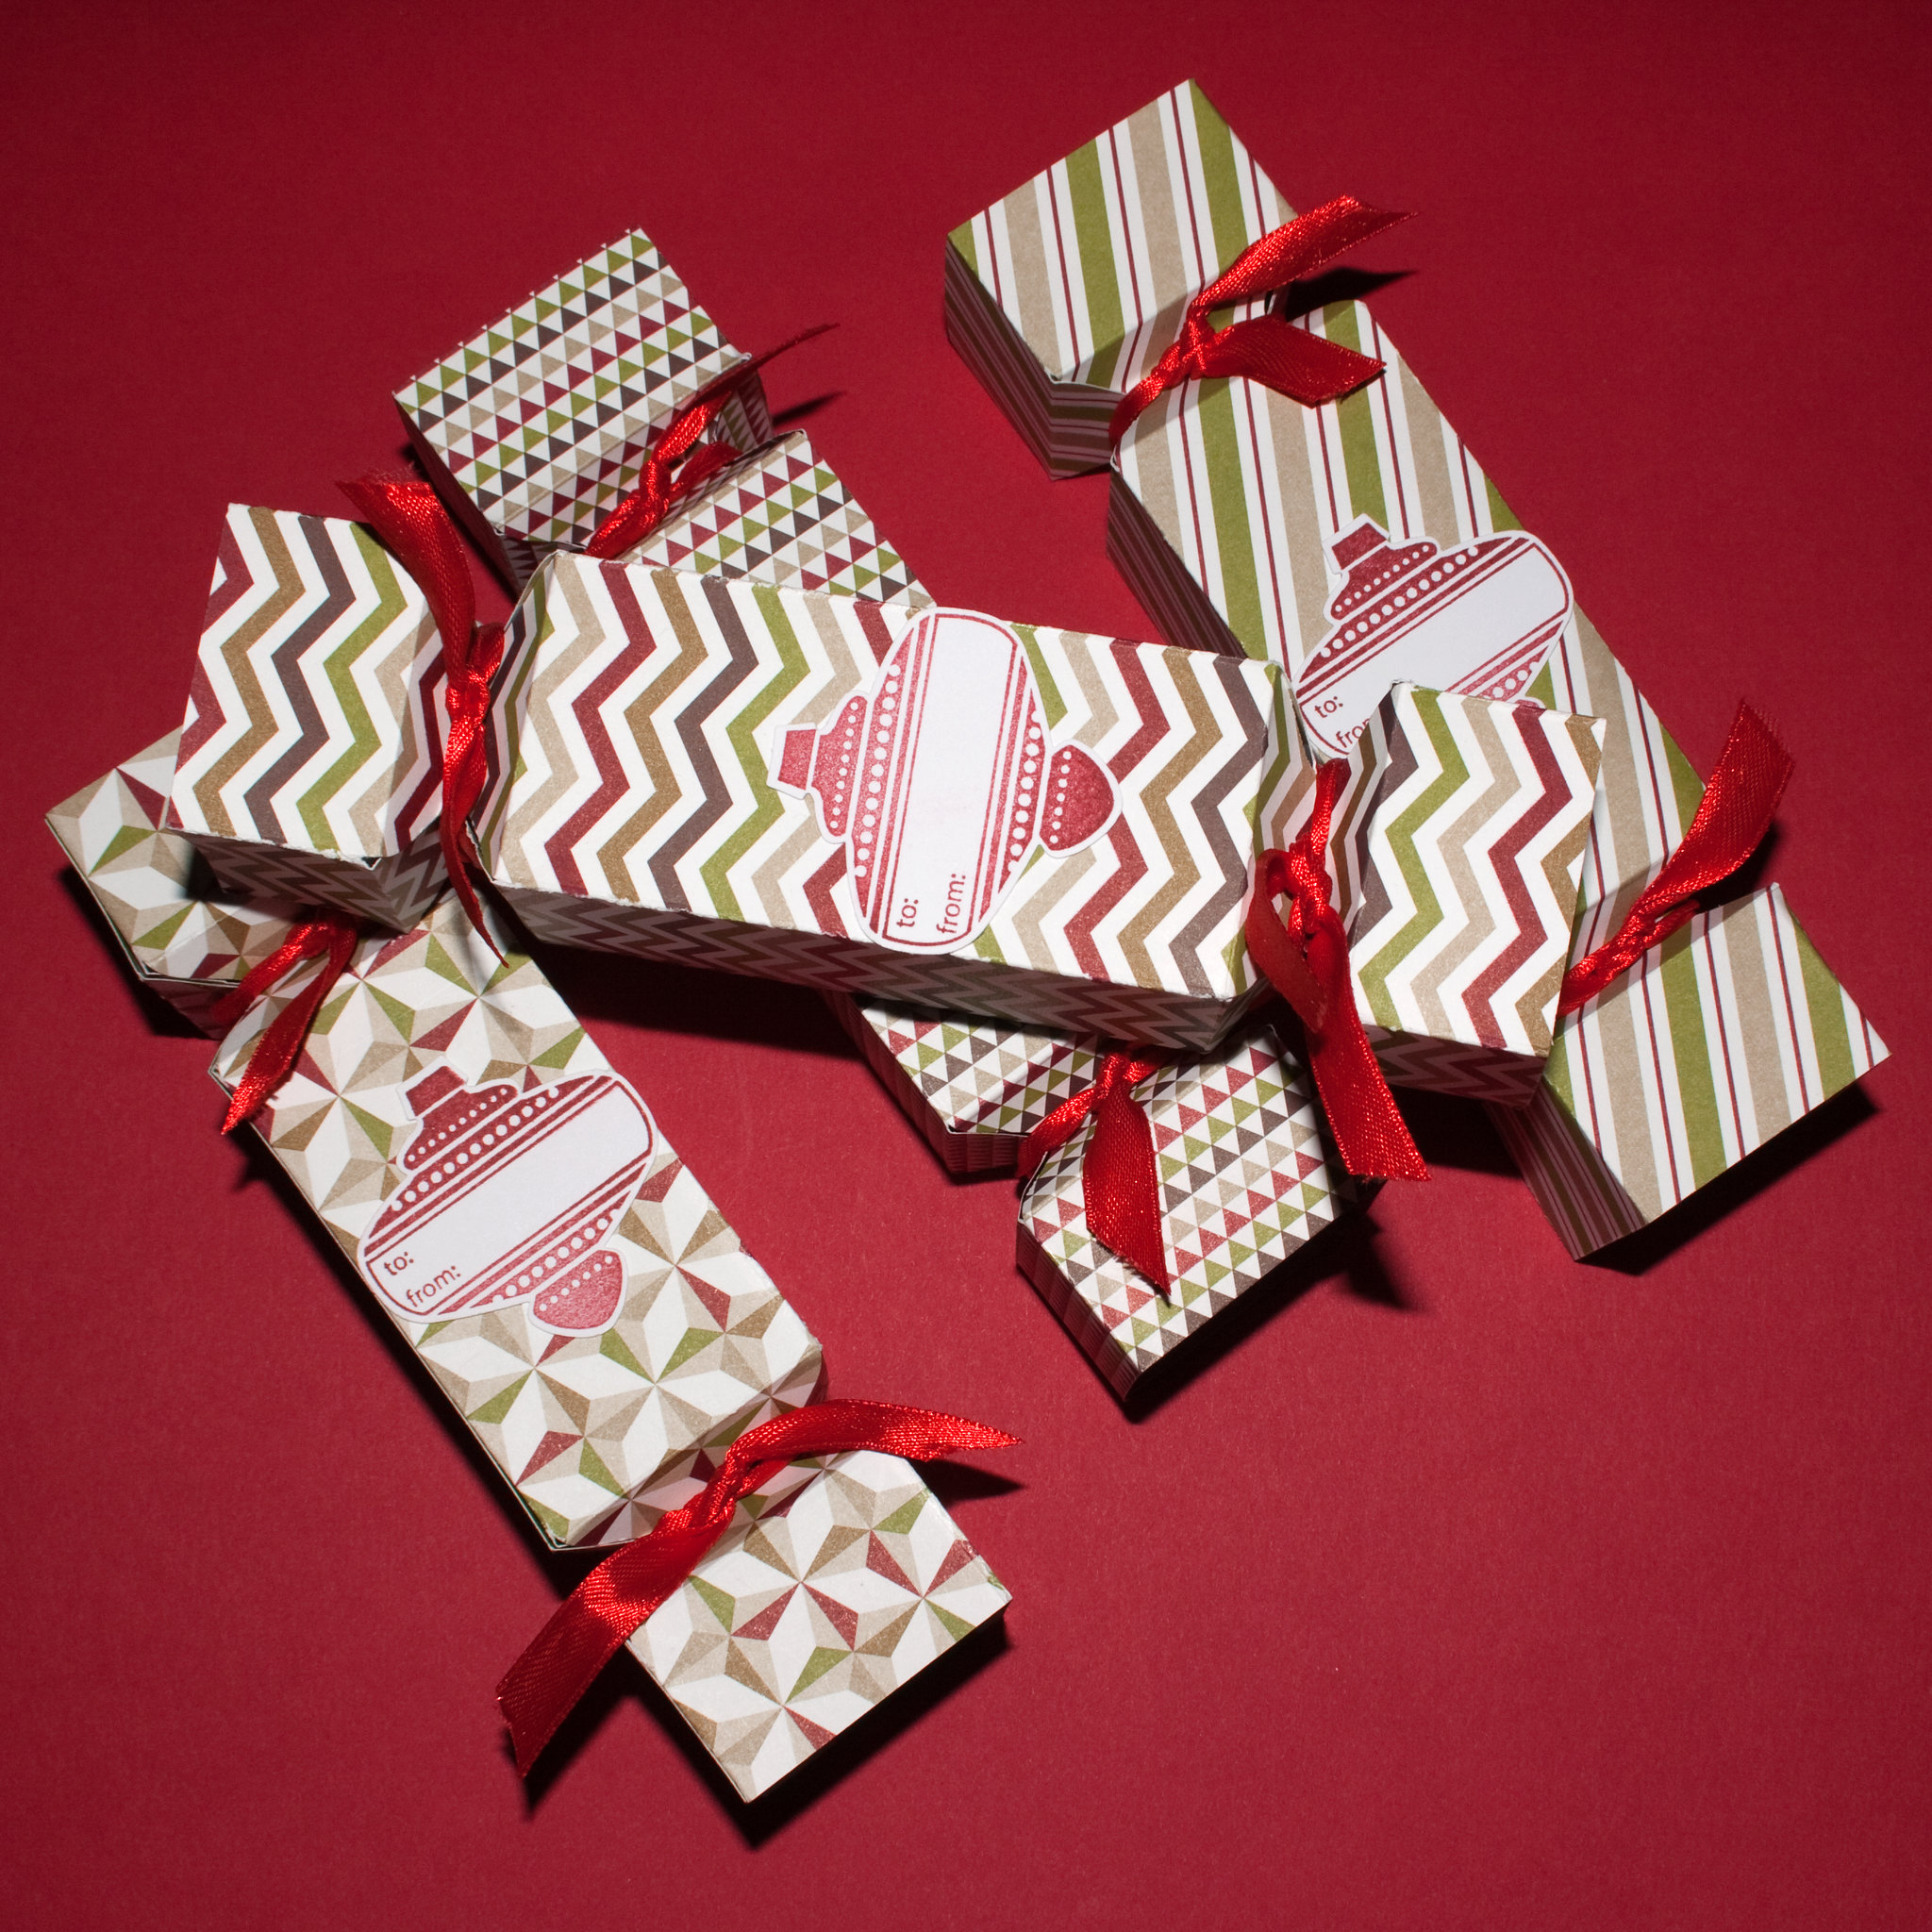
Having cut out all my paper for the cards, I was left with a lot of off-cuts. I thought it might be a nice idea to decorate the table where I was displaying my hand made cards.

I decided to have a go at making some crackers using my envelope board. These were filled with chocolates, and the tag from the Christmas Collectibles stamp set was attached.

With other off-cuts I made up some sets of gift tags, and bags to hold chocolate coins. My Bird and Owl punches came in very handy!


It was a fun night, with all the ladies enjoying both activities. Strangely enough the Gift Tags and Reindeer bags were an after thought, but these proved very popular.
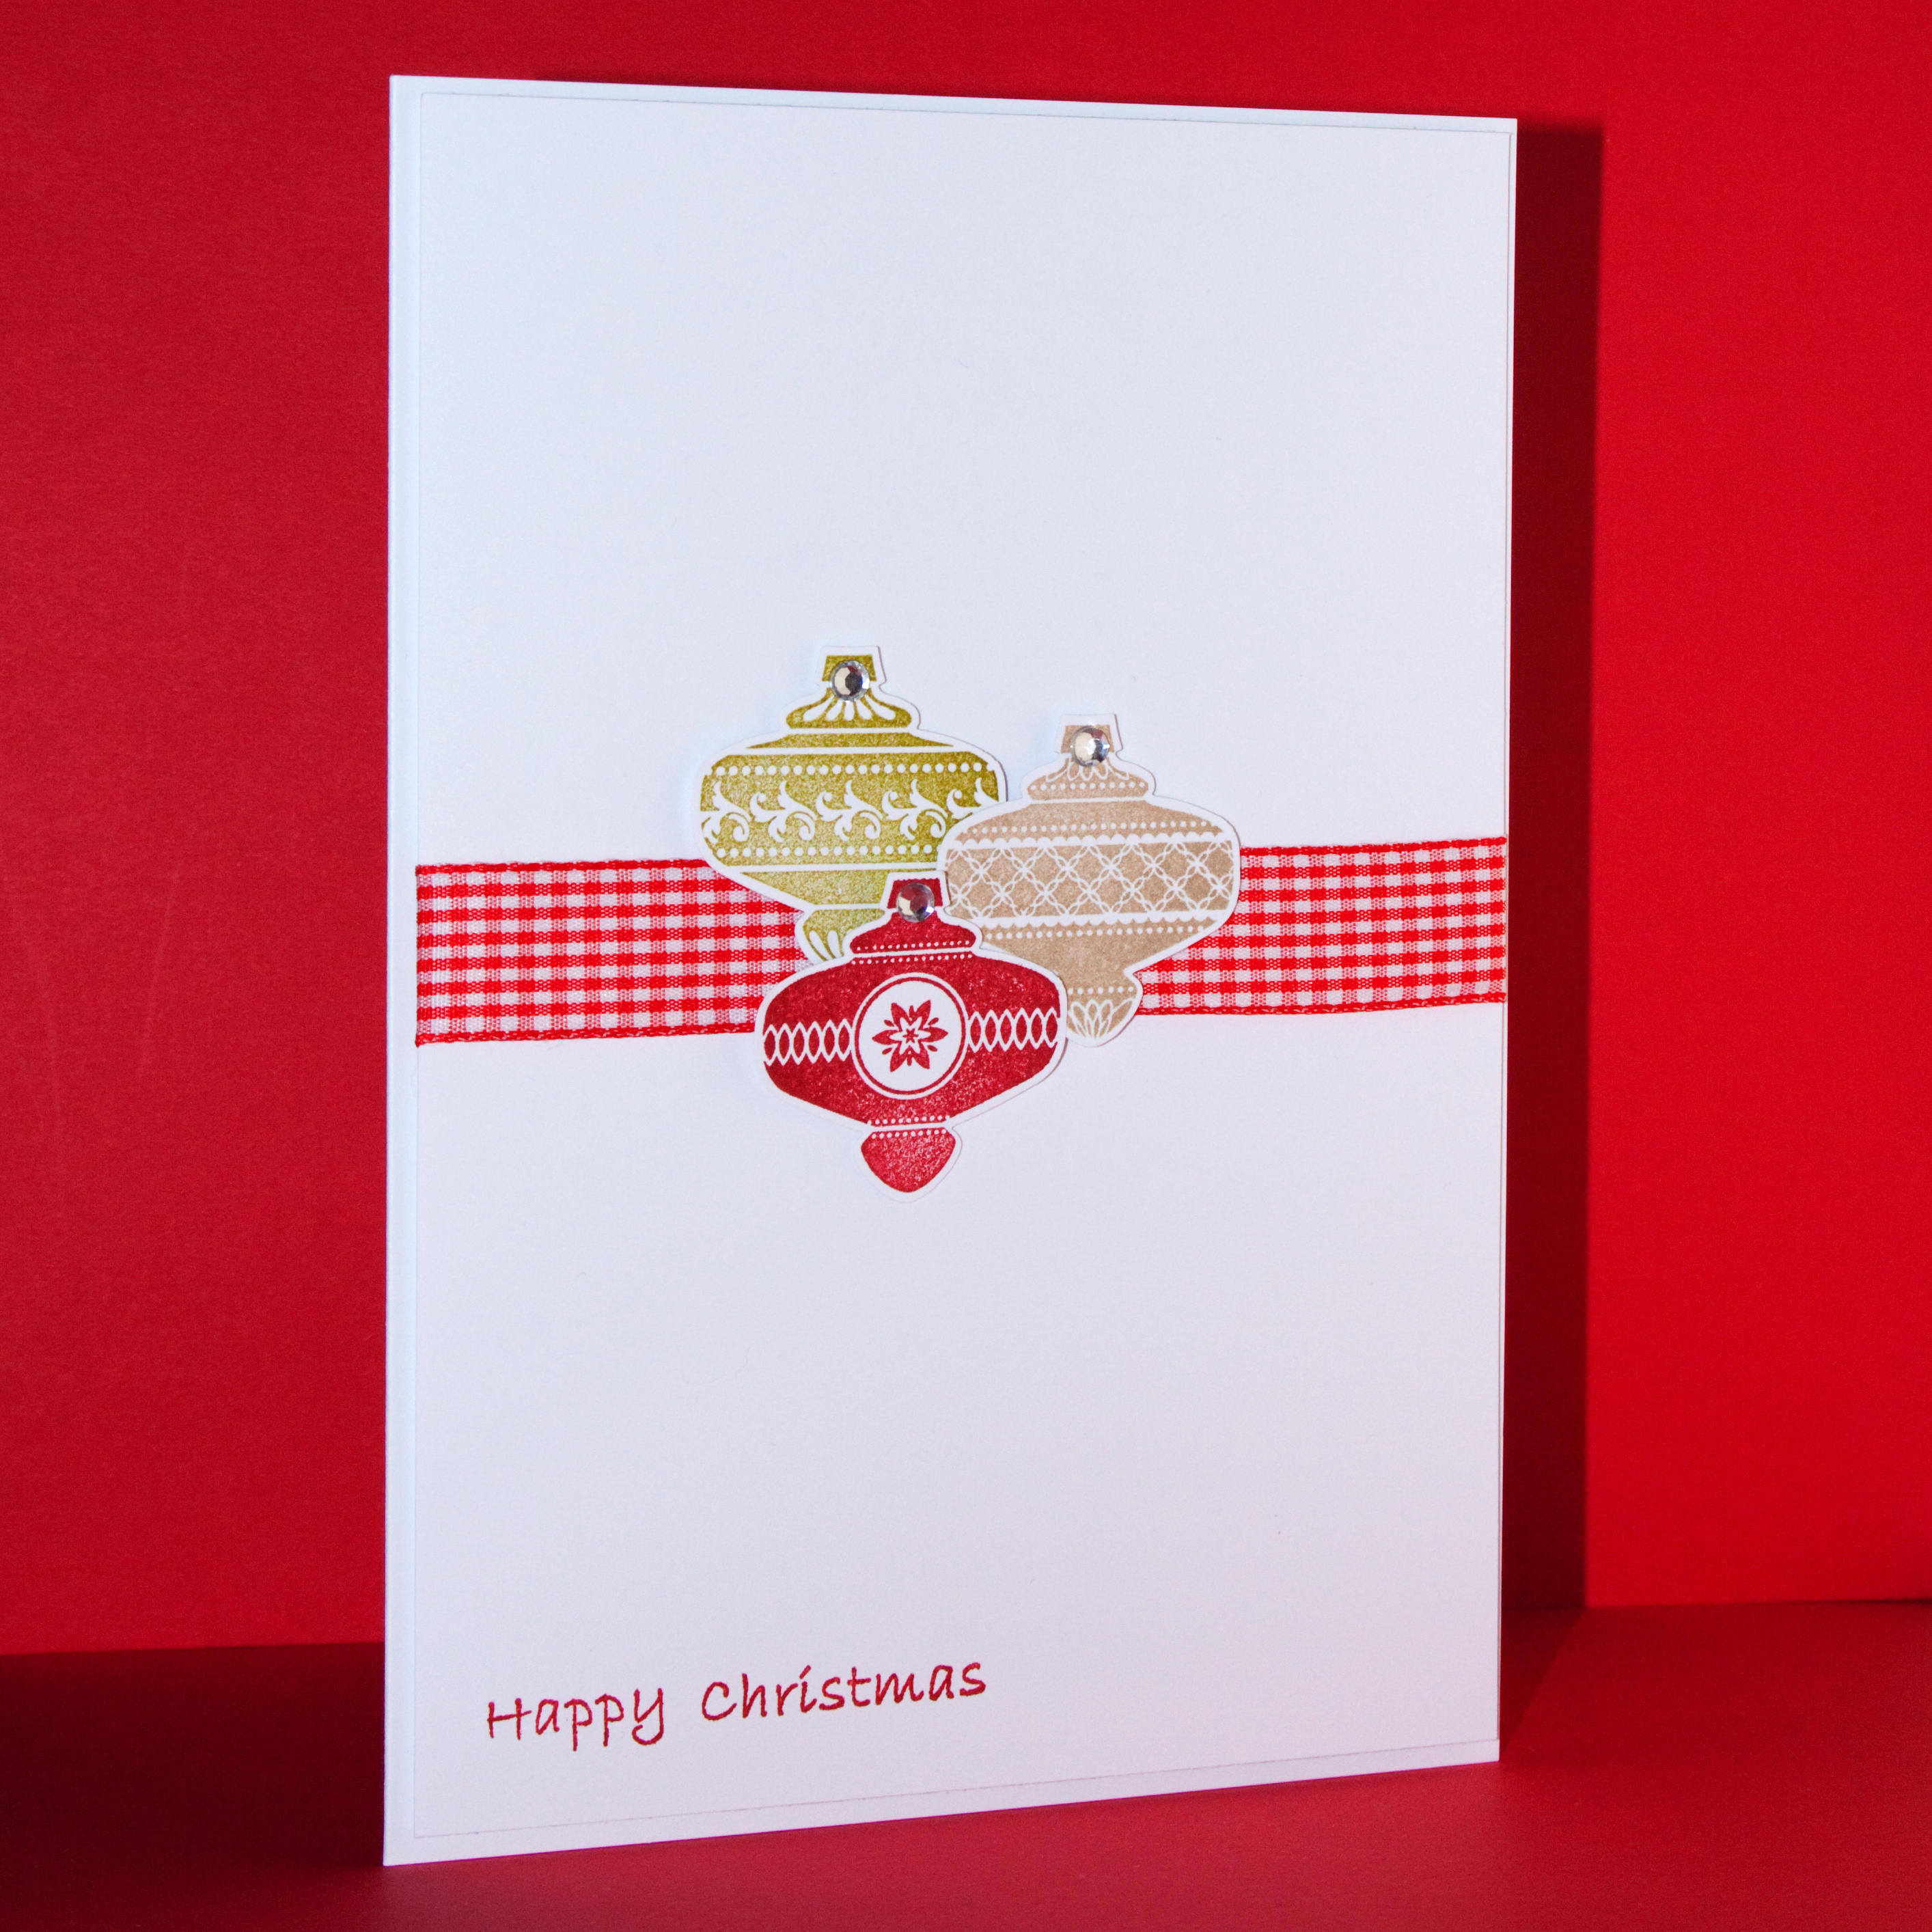
Products used:
All products used are from Stampin' Up!

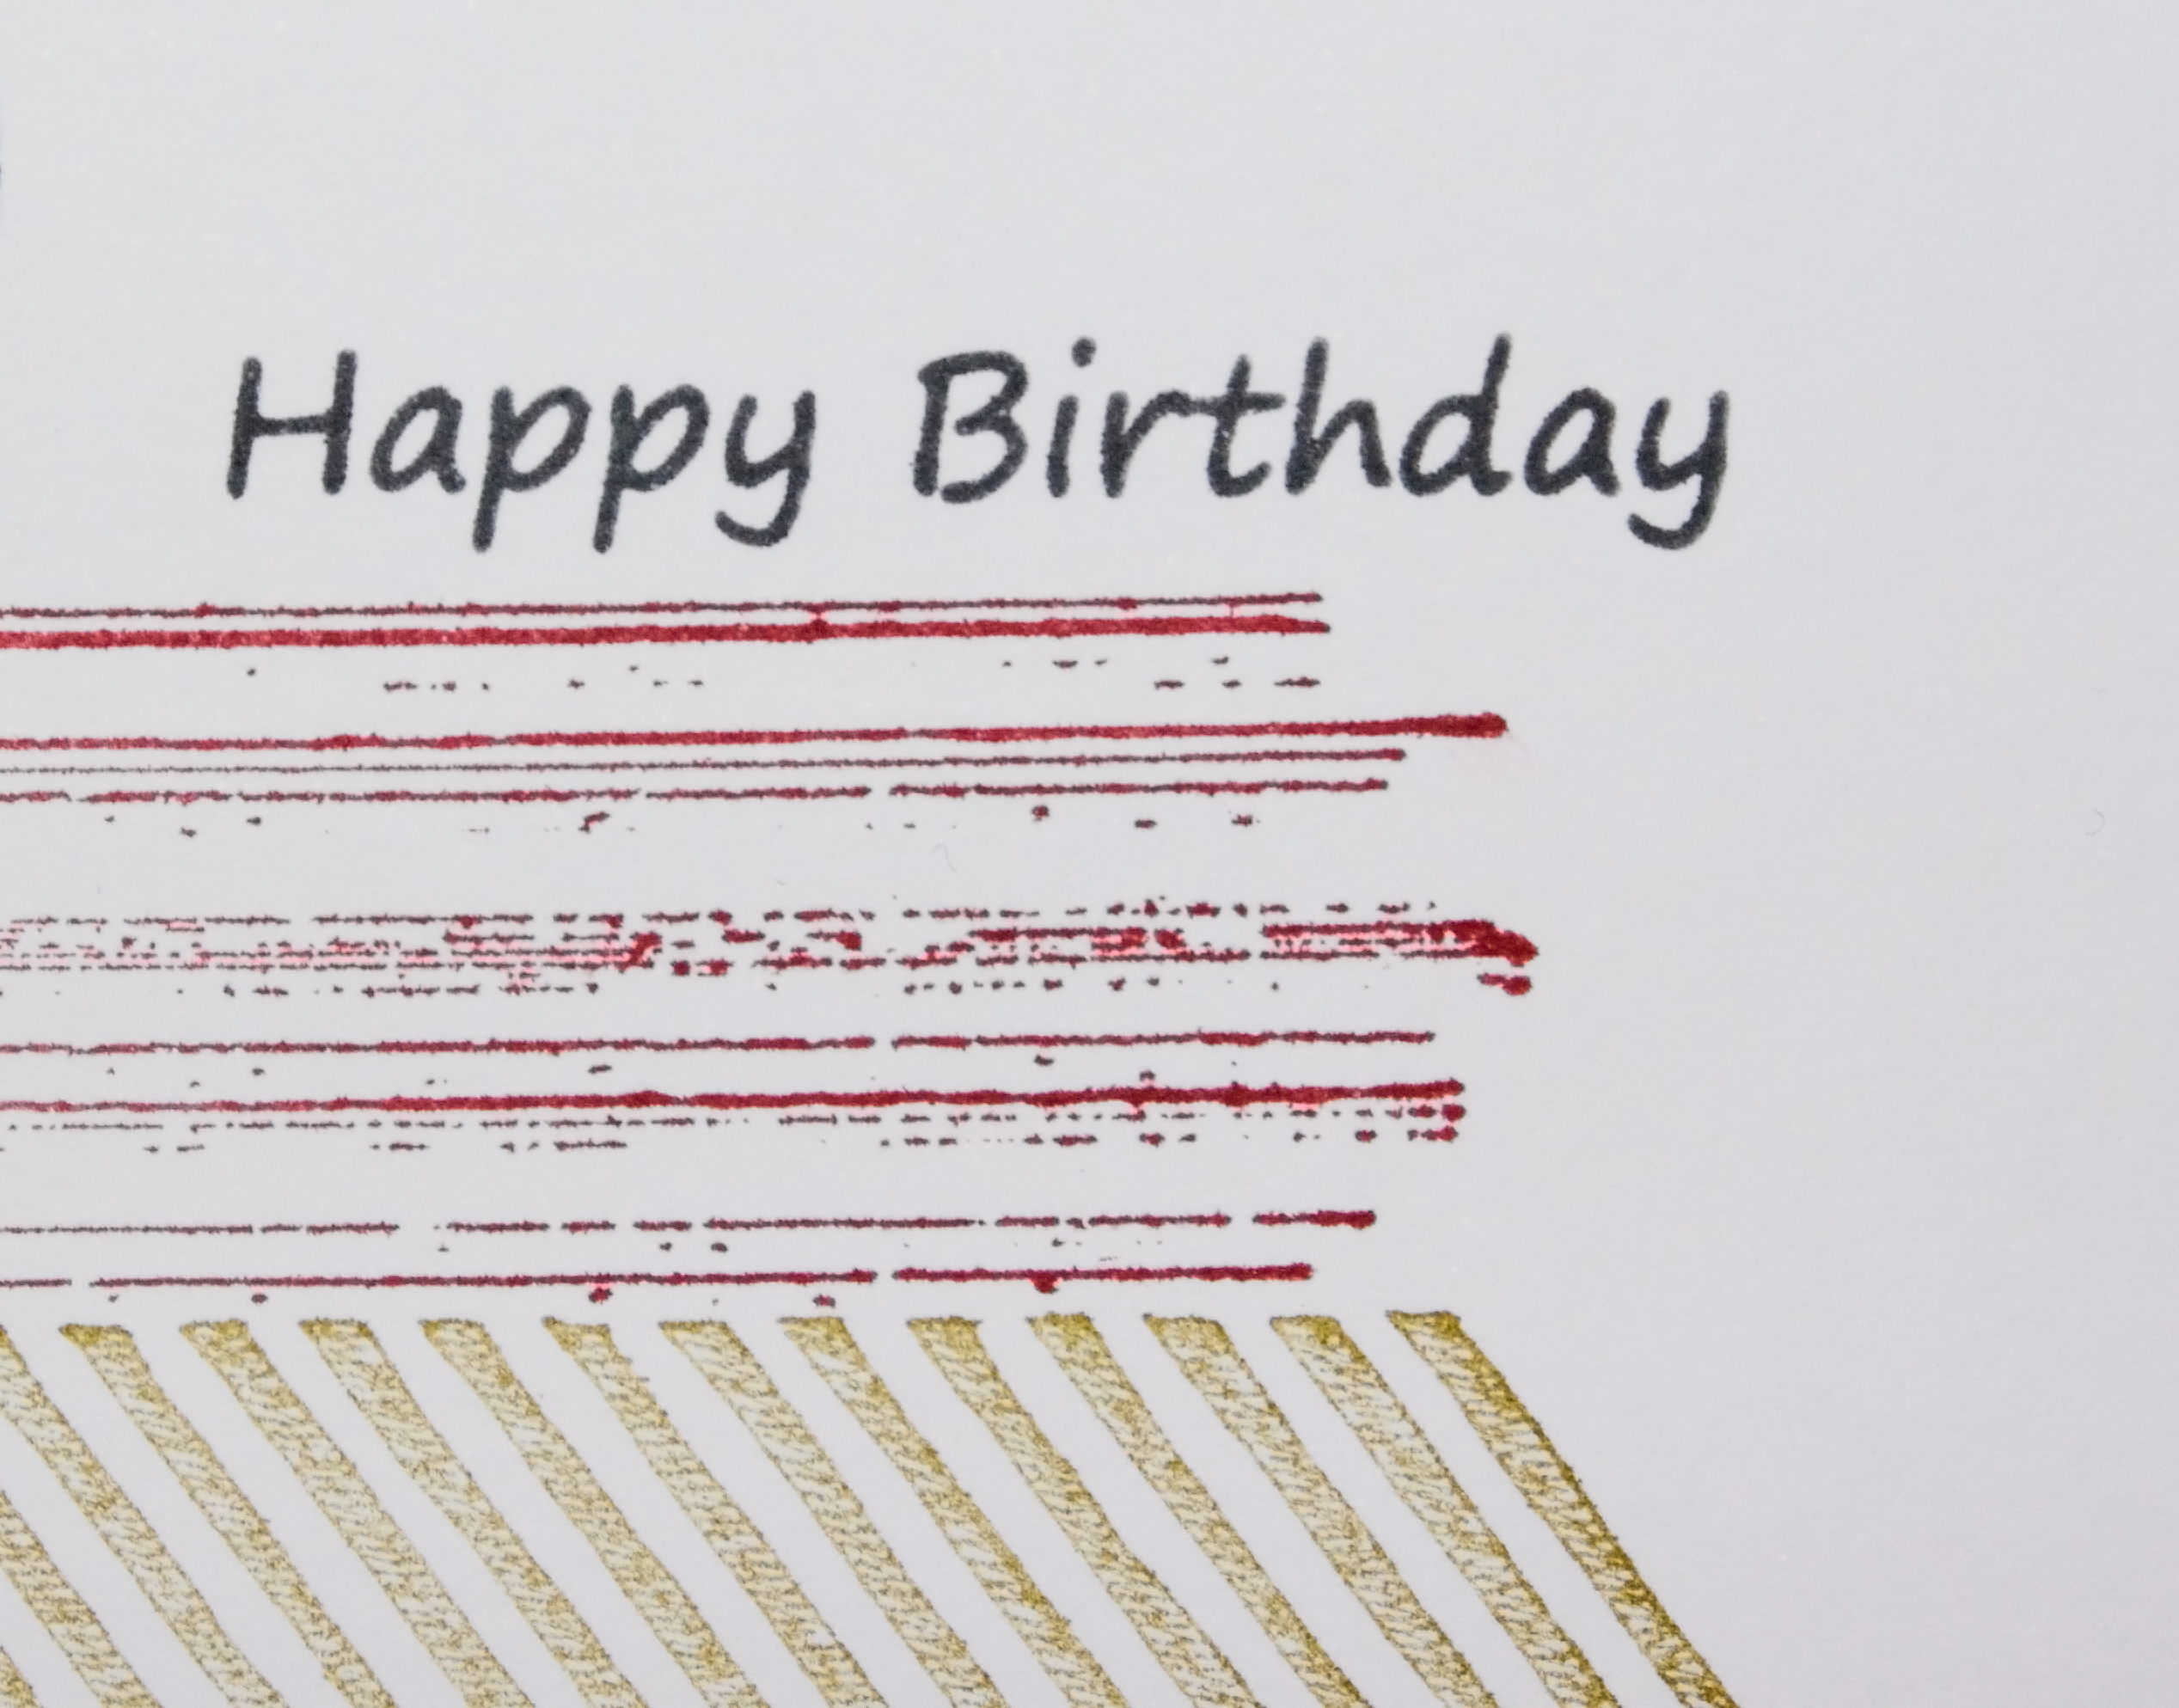
The stamp and punch set is Christmas Collectibles, and the paper is Seasons of Style Designer Paper. Owl and Bird Punches. The colours used were Old Olive, Cherry Cobbler and Crumb Cake.

You may also like:
    

Saturday 30 November 2013

Christmas Sparkle!

Less is More Challenge -   Week 148 Lucky Dip - Sparkle


At this time of year, nothing sparkles more than the Christmas tree lights, so I couldn't resist using this stamp!

I've coloured in my image using Promarkers, then using my Pearlescent Chalks, created a little glow around the light bulbs. These have had Crystal Effects Lacquer added to them to make them stand out.

My image has been framed by an embossed border. The sentiment has been stamped in to the border. 


Products used:
Walking the Light Rope Stamp - House Mouse
Promarkers
Pearlescent Chalks - Pebbles Inc.
Crystal Effects Clear Craft Lacquer - Stampin' Up!
Card from stash

You may also like:
    

Birthday Greetings


I made a negative aperture for my sentiment. The goose was stamped once directly on to the card, and secondly, so that I could cut out the body and mount it on dimensional's. A strip of washi tape finished off the card.

Products used:
Seasons of style Washi Tape - Stampin' Up!
Wetlands Stamp Set -  Stampin' Up!
Stampin' Write Markers Neutral and Old Olive - Stampin Up!
Card from stash

You may also like:
    

Energy Drive!


Another great image and sentiment to use for men from Acid Drops & Whatnots! I've edged my white card stock to add extra colour from behind.

Products used:
Washing Up Stamp Set - Acid Drops & Whatnots
Promarkers
Edgelits Large Scallop - Stampin' Up!
Card stock from stash

You may also like:
    

Wetlands


Using my Stampin' Up! write markers I coloured my image and then stamped on to white card stock. With a corner rounder I've rounded off all the corners and added a button and some twine for extra interest.


Products used:
Crumb Cake card stock - Stampin' Up!
Wetlands Stamp Set - Stampin' Up!
Stampin' Write Markers in Neutrals and Old Olive - Stampin' Up!
Button - Stampin' Up!
White card and twine from stash
Corner Rounder - Creative Memories

You may also like:
    

Sexy Beast!


These are such fun stamps to use for making men's cards.  I've kept it very simple with just a splash of red to add impact.


Products used:
Sexy Beast stamp set - Acid Drops & Whatnots
Promarkers
Sizzix Textured Impressions Square Lattice Folder - Stampin' Up!
Card from stash

You may also like:
    

Wednesday 27 November 2013

Vintage Bike

CAS(E) this Sketch:   #55


I've created my rectangle by using two of my Gorgeous Grunge stamps.

A simple sentiment finishes off my card.

My Vintage bike stamp is my focal point.


Products used:
Gorgeous Grunge stamp set - Stampin' Up!
Vintage Bike stamp - Hobbycraft
Cherry Cobbler Ink - Stampin' Up!
Old Olive Ink - Stampin' Up!
Card from stash

You may also like: